Stingy Action - on adding new weapons to Roche Fusion
Today I want to write a small post about how we add new upgrades to Roche Fusion.
We will use the example of an upgrade I added just last week, which will be part of our first big free content update.
The chosen upgrade is one that was deliberately easy to implement and did not require a lot of custom code, because I could reuse a lot of existing systems. Most upgrades we add have some new features - we want to keep it interesting after all - which requires us to write either a new flexible system or just some special code for that upgrade in particular.
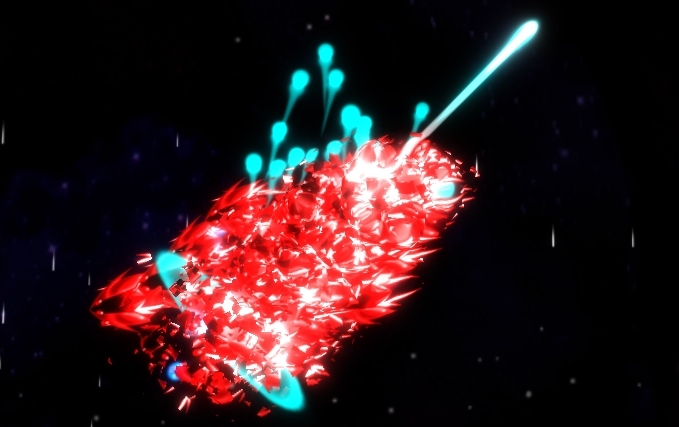
The upgrade we are going to look at is The Hornet.

The Hornet - similar to its cousin The Wasps, already in the game - is a homing missile. Similar to The Wasps it is shot from the back of the player's ship and is virtually guaranteed to find and hit a target.
However, it shoots less often and only a single projectile at a time. Its key and distinguishing feature is that once it hits an enemy, it instantly accelerates to pierce its target, and hit any other enemies in a straight line behind it.
The way this is accomplished is by having two different projectiles, the first of which is fired by the weapon, and the second of which is spawned when the first one hits.
Below you can see the JSON script files for both projectiles with added comments to explain what each part does.
Hornet Projectile
- Code: Select all
{
"name" : "hornet", // unique name so we can refer to it
"damage" : 0, // this does not deal any damage itself// this defines how the projectile looks, don't think too much
// about the name, that is legacy stuff we never bothered to change
"type" : "delayedAimedMissile","properties" : {
// extra padding to allow the projectile to go slightly out of
// screen without being deleted; this is useful with the homing
"dieDistancePadding" : 3,
// defines how large the projectile is drawn
"size" : 0.5,
},"effects" : [
// add homing behaviour to the projectile;
// the parameters control how the homing works in detail,
// resulting in a good mix between quick turns and smooth curves
{ "homing" : {
"perpendicularForce" : 65,
"fullforceAngle" : 0.35,
"leadTargetAmount" : 0.5,
"directAcceleration" : 45,
} },// adds a bit of friction (slow down over time)
// so that the homing cannot accelerate the projectile too much
{ "friction" : {
"friction" : 0.2,
} },// purely graphical effect drawing a smooth and fading trail
// behind the projectile
{ "trail" : {
"width" : 0.25,
"lifetime" : 0.25,
"drawBelow" : true,
} },// this makes the projectile spawn other projectiles on death
// in this case it spawns a single 'hornet sting' projectile
// in the same direction as it was flying itself with speed 40
{ "projectileexplosion" : {
"projectile" : "hornet sting",
"count" : 1,
"speed" : 40,
"inFlightDirection" : true,
} },// this causes a small particle explosion when the projectile is
// destroyed; visual feedback like this is super important to
// help the player understand what is going on
{"particleExplosion" : {
"size" : 0.4,
"count" : 8,
"velocity" : 2,
"lifeTime" : 0.45,
"drawTail" : false,
"onHitDeath" : true,
"onAgeDeath" : true,
"onDamageDeath" : true,
}},
],
}
Hornet Sting Projectile
- Code: Select all
{
"name" : "hornet sting", // unique name so we can refer to it
"damage" : 60, // this one does damage (and a lot of it!)// again defines how the projectile is drawn
"type" : "pew","properties" : {
// makes this projectile pierce hit targets, duh.
"piercing" : true,
// this is how much to multiply the damage of the projectile
// after every hit; this causes the maximum damage to be limited
// even if an arbitrary number of enemies are hit;
// this is important to prevent piercing weapons from being
// grossly overpowered for multiple hits, and underpowered
// for single hits; with a factor of 0.8, the projectile can do
// at most 5 times its base damage, no matter how many targets
// it hits
"pierceDamageMultiplier" : 0.8,
},
"effects" : [
// again this projectile has a trail; makes it look more awesome
// and makes behaviour clearer to player
{ "trail" : {
"width" : 0.1,
"lifetime" : 0.6,
} },
// this causes an expanding, fading ring effect when the projectile is
// spawned; this adds to the effect of the homing projectile
// turning into a straight flying piercing one and makes it look
// more powerful
{ "ringTrail" : {
"interval" : 100,
"delay" : 0.005,
"startsize" : 1,
"finalSize" : 6,
"finalSizeRandom" : 0,
"lifeTime" : 0.5,
"alpha" : 0.85,
} },
],
}
Once we have these two projectiles, the only thing we have to do is to add the weapon itself, which is done with another small script file:
- Code: Select all
{
"name" : "hornet", // unique weapon name
"user" : "player", // can be used by players
"class" : "primary", // this is a primary weapon
"projectile" : "hornet", // specify the name of the projectile to shoot
"muzzleSpeed" : -15, // this is a tiny hack for shooting 'backwards'"modifiers" : {
// this defines what sort of modifier orbs are available for the weapon
// in this case there is one that increases the firerate by 2% with
// every pick up, to a maximum of 200%
"firerate" : { "max" : 2, "add" : 0.02, "text" : "+fire rate" }
},"cooldown" : 1.3, // the weapon can fire every 1.3 seconds
"burstCount" : 1, // a single projectile is shot each time
"accuracy" : 0.8, // make the weapon a bit inaccurate
}
From these script files, it looks like adding new weapons to Roche Fusion would be a very simple thing. And in principle it is!
However, none of this would work without the huge backbone of C# code that we have running to interpret these files.
Just the code for the base behaviour of weapons and projectiles is hundreds of lines each. In addition each of the 'effects' defined in the script files of the projectiles - and there are a large number of other effects available for both weapons and projectiles - has to be implemented. This can be as simple as a small 20 lines class, or as complicated as several classes with hundreds of lines combined.
I hope this has given you some insight into how we work with script files to add new weapons to Roche Fusion.
If you are interested in hearing more on this or other topics, let us know what you would like us to write about, and we will make sure to cover the topic in a future post!
You can also always ask questions live during our weekly live streams at twitch.tv/amulware and twitch.tv/tomrijnbeek. We also announce our streams and share a lot of other details about our developments, including lots of hints and images about upcoming features on Twitter: @amulware and @tomrijnbeek.
Make sure to follow us there or like us on Facebook for the latest news.
Enjoy the pixels!